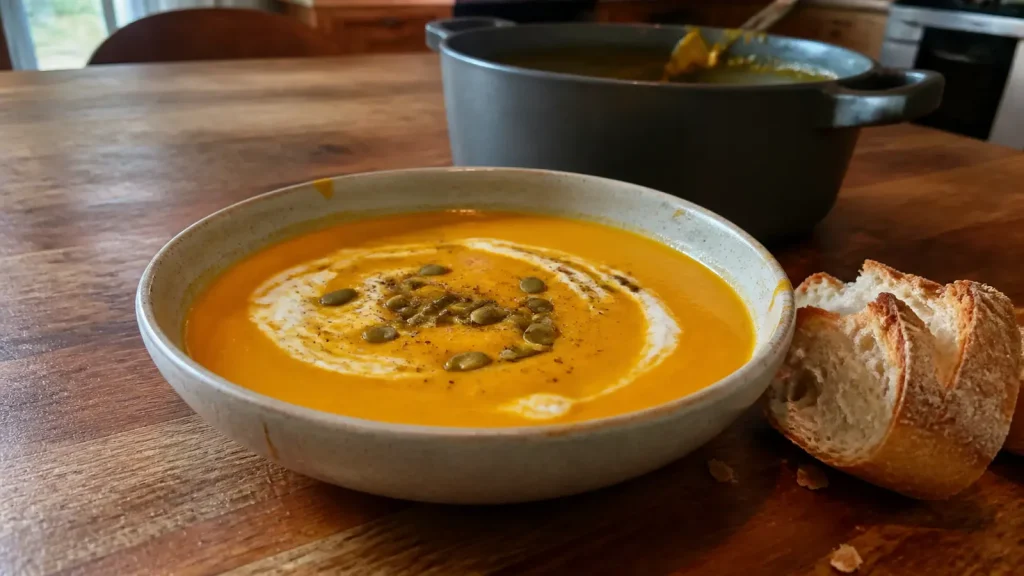
This easy pumpkin soup guide gives you two flexible methods: a fast stovetop version and a roasted version with deeper caramelized flavor. Both use edible pumpkin or butternut squash, onion, garlic, broth, and careful blending for a smooth finish.
I remember a rainy October evening when I stirred a pot and the whole kitchen smelled like fall. I used onion and garlic for depth, roasted a bit of squash for caramelized notes, then simmered everything with broth until it felt like comfort in a bowl.
Choose the quick stovetop method for a weeknight or the roasted method when you have more time. Finish either bowl with coconut milk or cream, toasted pepitas, black pepper, croutons, or crusty bread.
Read on for ingredient guidance, clear steps, blending tips, serving ideas, and storage notes.
Choose your method:
Why I Crave Pumpkin Soup When Fall Arrives
When the air turns crisp and leaves bruise into amber, a steaming bowl calls to me. That first inhale of warm, savory steam feels like home.
I love the gentle sweetness and earthiness that fresh pumpkin brings, especially when it meets sautéed onion and garlic. Some days I use butternut; other days I pick a sugar or red kuri at the market.
Roasting concentrates sweetness and adds caramelized depth. A quick stovetop simmer, by contrast, is fast and still full of flavor. Each method creates a different personality for the bowl.
- I toast seeds for a crunchy top that lifts texture on chilly nights.
- I treat the pot like a blank slate for warm spices or a subtle curry touch.
- And because the dish is forgiving, it fits weeknights or dressed-up dinners alike.
My favorite ritual is ladling into a big mug or shallow bowl and sitting down to sip slowly. It’s simple, cozy, and one of my favorite autumn soup recipes.
Pumpkin Soup at a Glance: Time, Tools, and What You’ll Need
Timing makes a big difference; I map out minutes and tools before I chop anything.
Prep and Cook Times, Servings, and Pot Size
The quick stovetop path finishes in about 15 minutes once everything is prepped. The roasted route takes 40–60 minutes to roast at 400–425°F, plus 20 minutes to simmer.
I plan for 4–6 servings and use a 5–6 quart Dutch oven or similar heavy pot for even heat.
Essential Tools
- 5–6 quart Dutch oven or heavy pot for steady simmering
- Sheet pan lined with parchment for roasting squash or pumpkin
- Immersion blender or high-powered blender—cool slightly before blending
- Ladle, heatproof spatula, measuring cups and a tasting spoon
| Step | Minutes | Notes |
|---|---|---|
| Stovetop method | 15 | Fast finish after prep |
| Roasted method | 60–80 | Roast then simmer for depth |
| Servings & adjust | — | 4–6; add broth by the cups to adjust thickness |
This short checklist keeps my process calm and predictable. Use fresh pumpkin or firm-fleshed squash, and follow the times above for reliable results in this cozy recipe.
Ingredients I Use for the Best Flavor and Creaminess
I pick ingredients at the market with a simple rule: sweet, firm flesh wins every time. That guides whether I buy fresh pumpkin or butternut squash and shapes the texture of my soup.
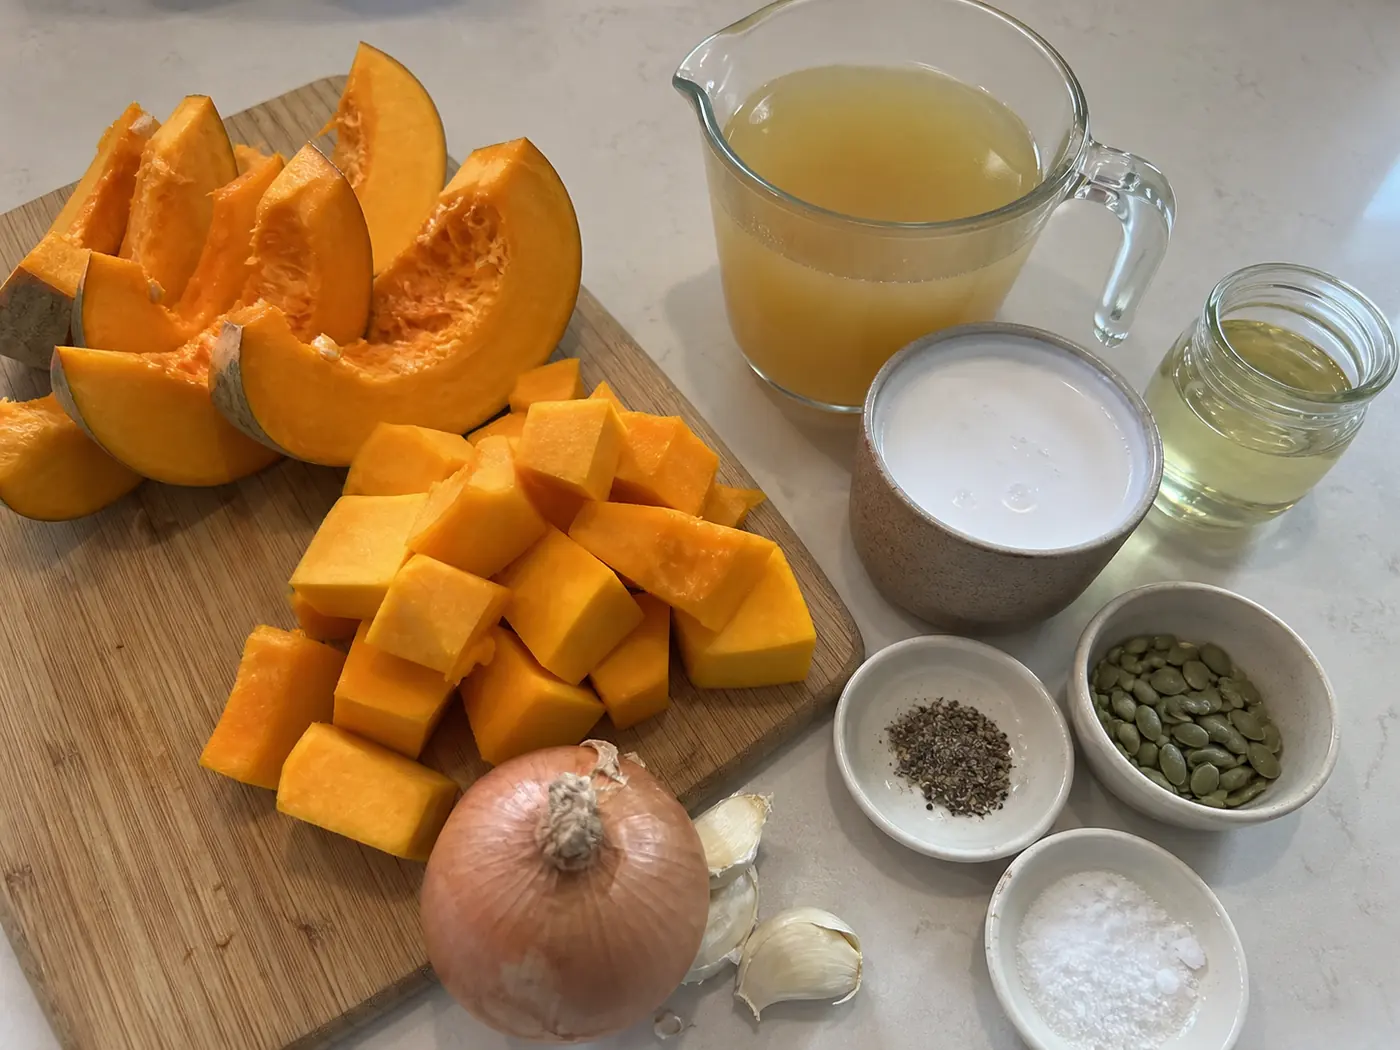
Fresh vs. butternut: market choices
I choose eating varieties with dense orange flesh and avoid large carving gourds. Butternut squash brings a naturally sweet, smooth base. Small edible pumpkins offer a pleasant, traditional flavor when roasted.
Aromatics and seasoning
Onion and garlic are the backbone. I sweat them until soft to build depth before I add broth or purée. I use low-sodium broth so I can control seasoning, and I finish with salt and pepper to taste.
Creaminess and canned options
For richness I rotate between heavy cream, milk, or a knob of butter. Coconut milk gives silkiness and a dairy-free path. When time is tight, two cans of pumpkin puree replace fresh; I cut liquid slightly and adjust after blending.
- Buy an extra onion and a couple of garlic cloves so you’re never short.
- Add water by the cup after blending to reach a spoon-coating consistency.
| Option | Best for | Notes |
|---|---|---|
| Fresh pumpkin | Roasted depth | Sweet, firm flesh; watch for carving varieties |
| Butternut squash | Sweet, smooth texture | Easy to peel and roast; consistent results |
| Pumpkin puree (canned) | Speed | Use two cans; reduce broth slightly and taste |
| Coconut milk | Dairy-free richness | Silky finish with a mild coconut note |
How I Make Pumpkin Soup on the Stove
On busy weeknights I favor the stovetop method because it gets a silky bowl on the table fast. I use a heavy pot and keep the heat steady so the aromatics build flavor without browning too quickly.
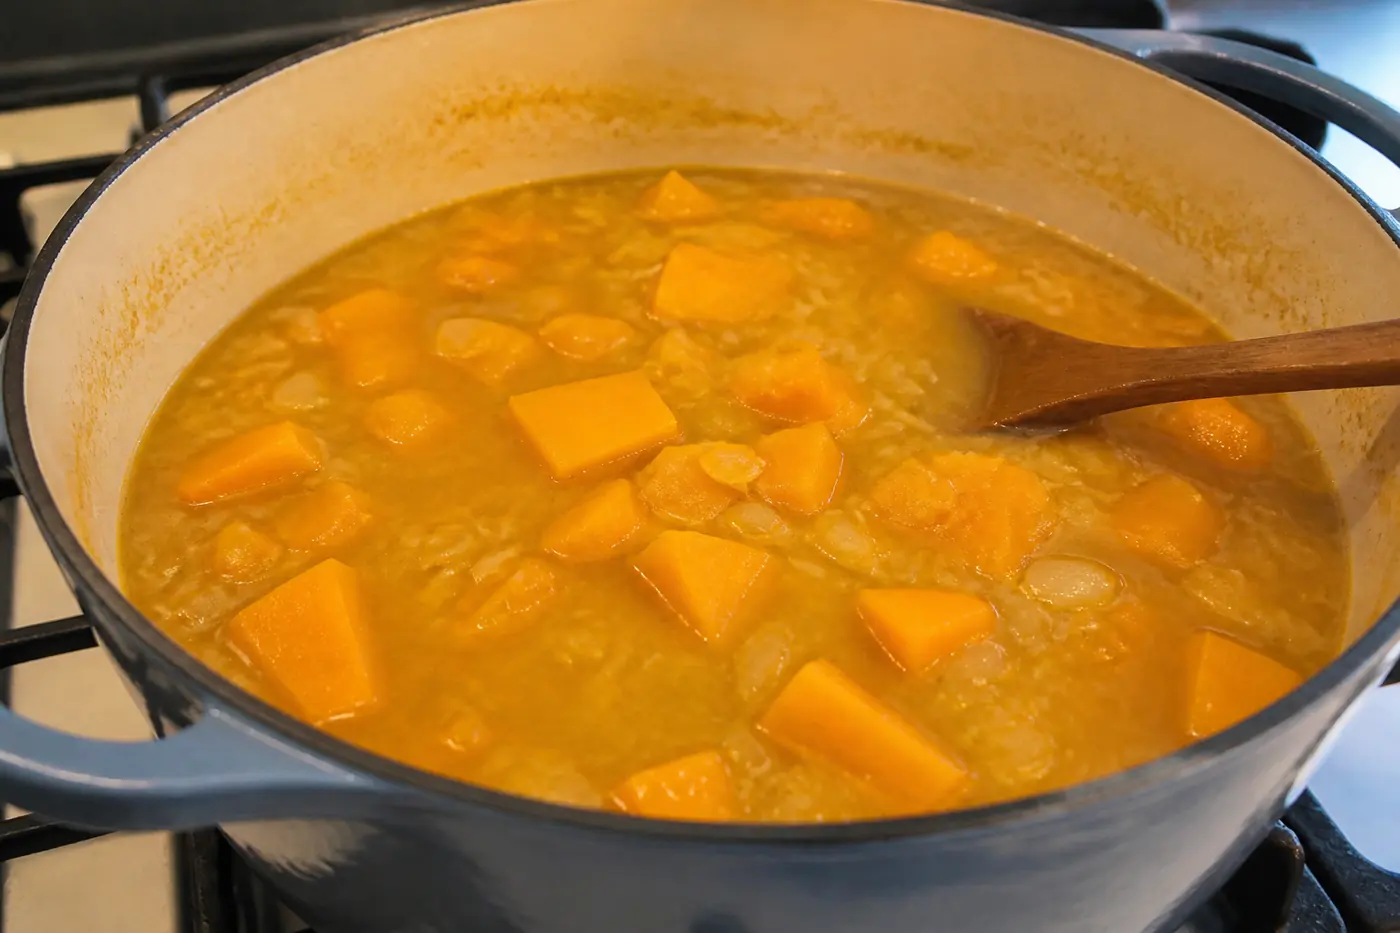
I start by sautéing diced onion and two crushed cloves in a bit of oil over medium heat. Once translucent and fragrant, I add pumpkin chunks, broth, and a splash of water. I bring the pot to a gentle boil, then lower the heat and simmer for about 10–15 minutes until the pieces are very tender.
For blending, I prefer an immersion blender right in the pot for safety. Alternatively, I cool slightly and pulse in a countertop blender for ultra-smooth texture. Blend until silky, then season gradually with salt and cracked pepper so the pepper doesn’t dominate the natural sweetness.
Before I swirl in cream, milk, or a knob of butter, I reduce heat to prevent splitting. If the texture feels thick, I add small splashes of broth and blend a bit longer until a ladle coats evenly.
- Step-by-step tip: taste as you go and adjust seasoning.
- Cook time makes this soup recipe weeknight-friendly after prep.
- Ladle into warm bowls and garnish simply so the silky texture shines.
| Action | Time | Why |
|---|---|---|
| Sauté aromatics | 3–5 minutes | Builds base flavor without browning |
| Simmer pumpkin | 10–15 minutes | Makes pieces tender for smooth blending |
| Blend and finish | 2–4 minutes | Achieves silky texture; finish off heat |
Roasted Pumpkin Method for Deep, Caramelized Flavor
On slow weekend mornings I fire up the oven to coax deep, caramel notes from halved winter squash. Roasting concentrates sweetness and gives the bowl a toasted edge that the quick method can’t match.
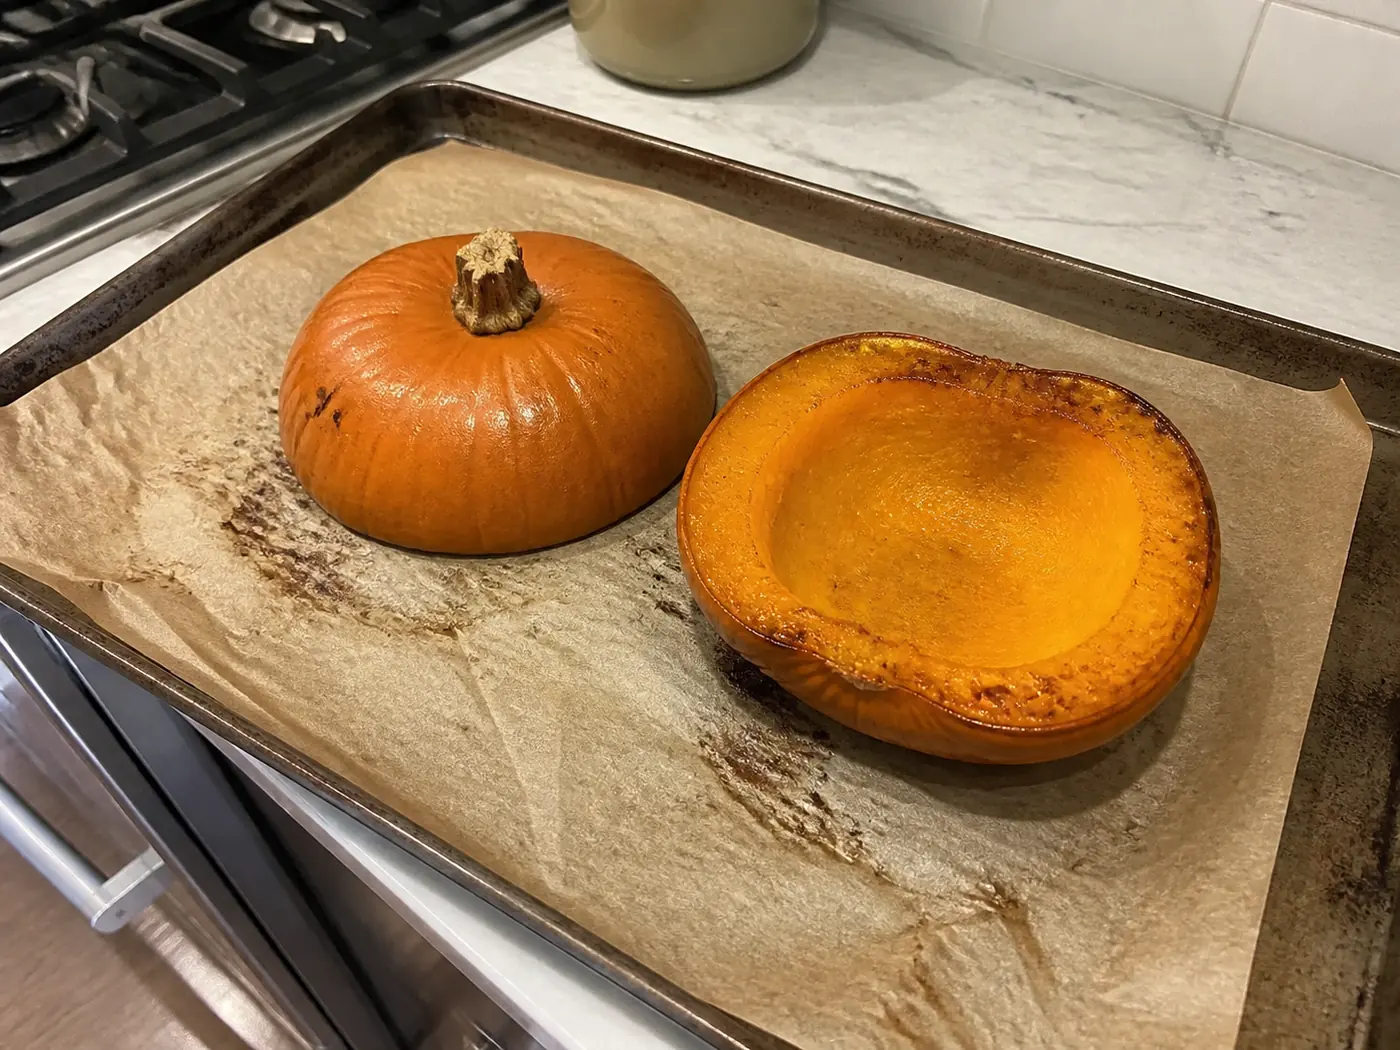
Roast until tender, then scoop
I halve the squash, place cut-side down, and roast at 400–425°F for 35–60 minutes until very soft. When it’s done, the skin peels away easily and the flesh smells sweet and toasted.
Simmer with broth, blend, and finish
I scoop the roasted flesh and simmer it with sautéed onion, spices, and good broth for about 20 minutes before blending. Then I stir in coconut milk or cream for extra richness and blend until silky.
Maple, bacon, and warm spices
If I want a fall twist, I add a drizzle of maple syrup, crispy bacon bits, or warm spices like cinnamon and nutmeg. These additions lift the bowl without turning it into a dessert.
- I roast extra and freeze portions to make pumpkin soup faster later.
- This method takes more minutes, but the depth is worth it.
| Step | Temp | Minutes |
|---|---|---|
| Roast halves | 400–425°F | 35–60 |
| Simmer with broth | Low simmer | 20 |
| Finish & blend | Off heat | 2–4 |
Pumpkin Soup Flavor Variations I Love
Small tweaks to seasoning turn a familiar bowl into something new and exciting. Below are four easy directions I use to change the overall flavor without fuss.
Lightly spiced
I use 1/2 tsp each ground cumin, ground coriander, and smoked paprika. This mix adds gentle warmth and lets the pumpkin shine.
Curried version
I stir in turmeric and ground coriander. Then I add a tiny pinch of cayenne to lift the finish without too much heat.
Thai red curry twist
I bloom 2 tbsp red curry paste in oil, then add broth and roast flesh. I finish with coconut milk and top with fresh cilantro for an aromatic bowl.
Ginger-forward
I sauté 1 tbsp finely chopped ginger in butter before adding liquids. The butter rounds the bright ginger into a rich, cozy flavor.
- These variations work with pumpkin or butternut so you can use what’s on hand.
- Taste as you go: add spices little by little, blend, then adjust flavor.
- A splash of vinegar or a squeeze of lime will brighten a flat batch.
| Variation | Key spices | Finish |
|---|---|---|
| Lightly spiced | Cumin, coriander, smoked paprika | Warm, subtle |
| Curried | Turmeric, coriander, pinch cayenne | Bright, layered |
| Thai red curry | Red curry paste, cilantro | Coconut milk, aromatic |
Blending, Texture, and Heat Control
When I’m ready to blend, I slow down and check the pot’s temperature before anything else. That small pause keeps the process safe and helps me hit the texture I want.
Immersion blender vs. high-powered blender
I often reach for an immersion blender because it lets me puree right in the pot. This avoids moving hot liquid and gives fine control over chunkiness.
For a countertop blender, I cool the batch briefly, vent the lid, and blend in small amounts to avoid pressure build-up and splatter. Those steps protect both me and the machine.
Fixing thickness and managing heat
If the soup is too thick, I add water in 1/2 cup increments and re-blend until the texture is silky. Small additions keep me from over-thinning the bowl.
If it’s too thin, I simmer gently to reduce and concentrate flavor. I never let the pot boil after adding cream or milk; high heat can make the dairy split and lose gloss.
- I check texture by seeing if the mixture coats a spoon and mounds slightly in the bowl.
- Passing the puree through a fine-mesh strainer gives a restaurant-smooth finish.
- Different pumpkin and squash varieties hold different amounts of liquid, so minor adjustments are normal.
| Tool | Best for | Key tip |
|---|---|---|
| Immersion blender | Safe in-pot blending | Blend until smooth, stir and check texture |
| High-powered blender | Ultra-smooth finish | Cool, vent lid, blend small batches |
| Strainer | Silky texture | Pass puree through for extra refinement |
How I Serve and Top My Pumpkin Soup
A few smart garnishes make the serving feel intentional and cozy. I keep finishes simple so the warm orange color and aroma shine through.
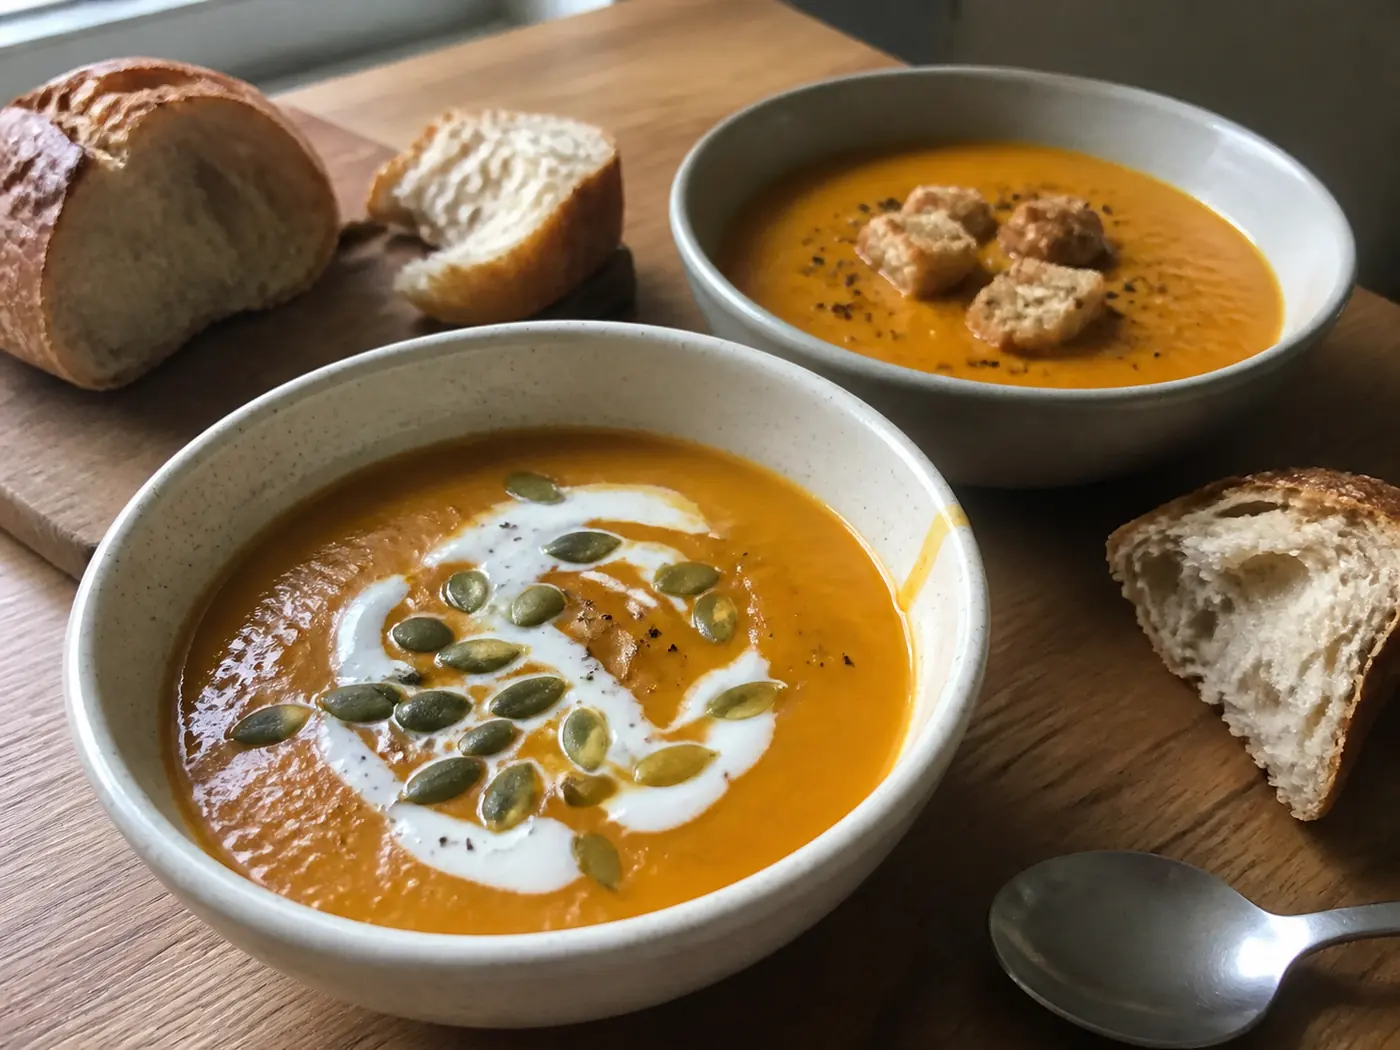
I like a ripple of coconut milk across the top for contrast and extra creaminess. Then I sprinkle toasted seeds for crunch and nutty depth that balances the silky texture.
I always crack fresh black pepper over each bowl and sometimes add crisp bacon bits or croutons for a savory lift. I warm my bowls before ladling to keep heat longer at the table.
- I pair the bowl with crusty bread, focaccia, or a grilled cheese for dunking.
- For a fuller meal, I serve salads like kale with apples or farro with roasted vegetables.
- I place garnishes at the table so guests can customize their top to taste.
| Garnish | Effect | When to use |
|---|---|---|
| Coconut milk drizzle | Creamy contrast | Finish before serving |
| Toasted seeds | Crunch and nutty flavor | Sprinkle last |
| Cracked pepper & bacon | Savory lift | For heartier servings |
Make-Ahead, Storage, and Freezer Tips
I like to plan storage the same way I plan a meal—simple steps and clear containers. That makes reheats fast and keeps texture intact for weeknight dinners.
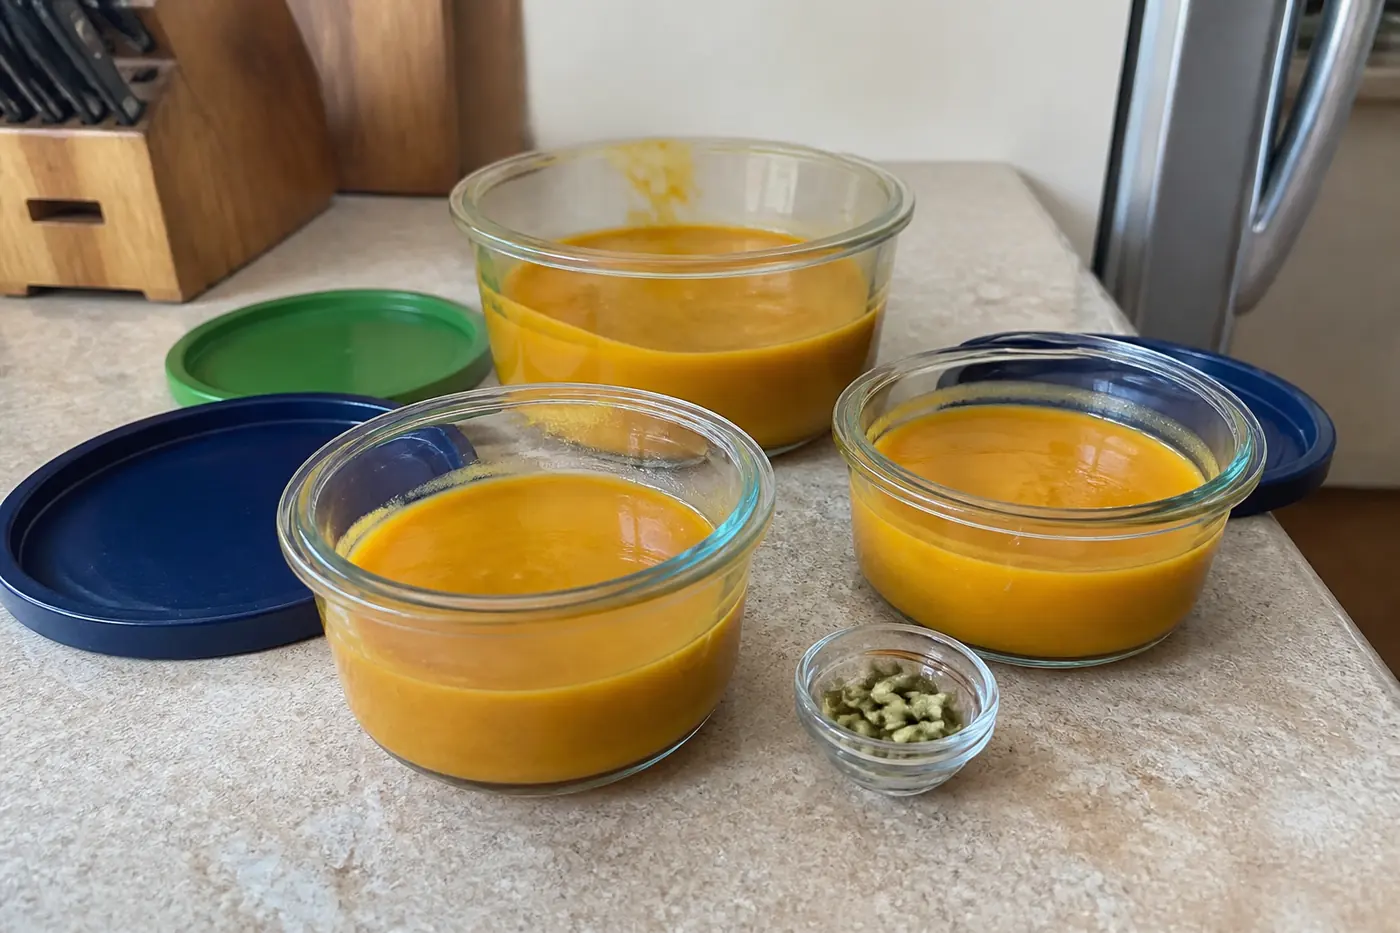
Refrigerator: 4 to 5 days and gentle reheats
Refrigerate leftovers in airtight containers for 4 to 5 days. I portion into single-serving jars so the batches cool fast and chill evenly.
When I reheat, I warm gently on the stove. I add a splash of water if the texture feels thick and stir until silky. I never let it boil after adding dairy—heat until steamy but not bubbling.
Freezer: up to three months and thawing tips
I freeze extra batches for up to three months and label each container with the date. Thaw overnight in the fridge, then loosen with a bit of vegetable broth or water and stir to refresh the consistency.
- I freeze in individual portions for quick lunches or easy weeknight servings.
- Keep toppings separate and add them after reheating for best texture.
- Two cans of canned pumpkin can substitute when I prep multiple batches of this soup recipe ahead of time.
| Storage | Duration | Reheat tip |
|---|---|---|
| Refrigerator | 4–5 days | Warm gently; add water if thick |
| Freezer | Up to 3 months | Thaw overnight; stir in broth or water |
| Make-ahead swap | Immediate use | Use 2 cans canned pumpkin to save time |
Final Pumpkin Soup Tips
You don’t need fuss to make a richly flavored bowl; a little time and the right technique do the work. Use eating pumpkins or butternut squash, sweat onion and garlic, then simmer in vegetable or chicken broth for depth.
Choose fast stovetop minutes for weeknights or roast at 400–425°F when you want caramelized flavor. Blend safely with an immersion tool or a cooled blender and finish with heavy cream, milk, butter, or coconut milk for silkiness.
Season with salt and pepper, manage heat after adding cream to keep the texture velvety, and top with pepitas, bacon, or a drizzle of coconut for a chef’s touch. Refrigerate for 4–5 days or freeze for months—your future self will thank you. Save this pumpkin soup recipe, try a variation, and enjoy it all season.
More cozy soup ideas: Browse our simple soup recipes, try this roasted red pepper soup, explore dairy-free soup recipes, or build a complete meal with these fall dinner recipes.


